Your cart is currently empty!

Overview
Duotone is a technique that uses two colors to create an image, resulting in a unique and eye-catching effect. This post outlines the steps to add a duotone effect to an image in Photoshop.
First, we’ll apply the effect using a Gradient Map, our recommended method. Then, we’ll take another approach using grayscale and duotone modes.
Method 1: Gradient Map
This is another way of creating a duotone image.
1. Add a Gradient Map
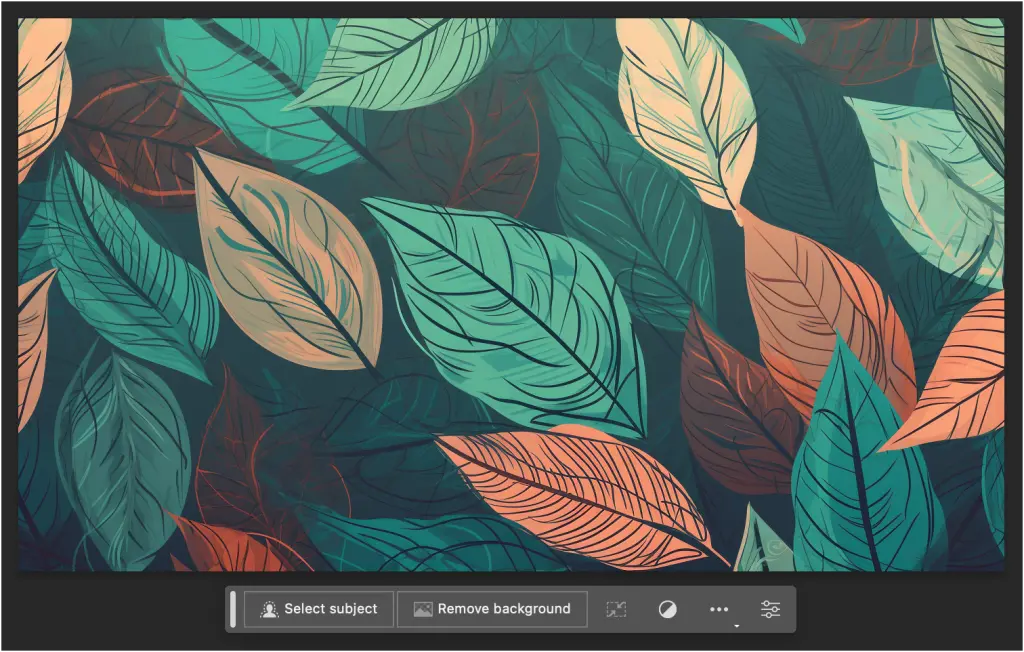
Open your image in Photoshop. We’ll be using this one for the tutorial:
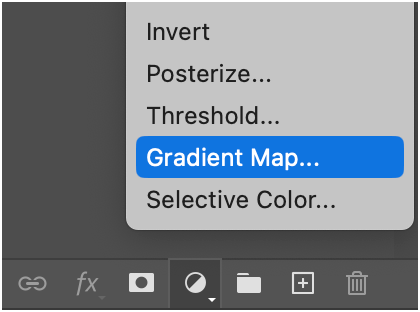
Click on the Adjustment Layer icon at the bottom of the Layers panel, usually in the bottom right.

Select Gradient Map in the bottom of the panel.
Your image should darken and look kinda weird:

Go to the Properties panel (normally above the Layers panel) and click on the first bar.

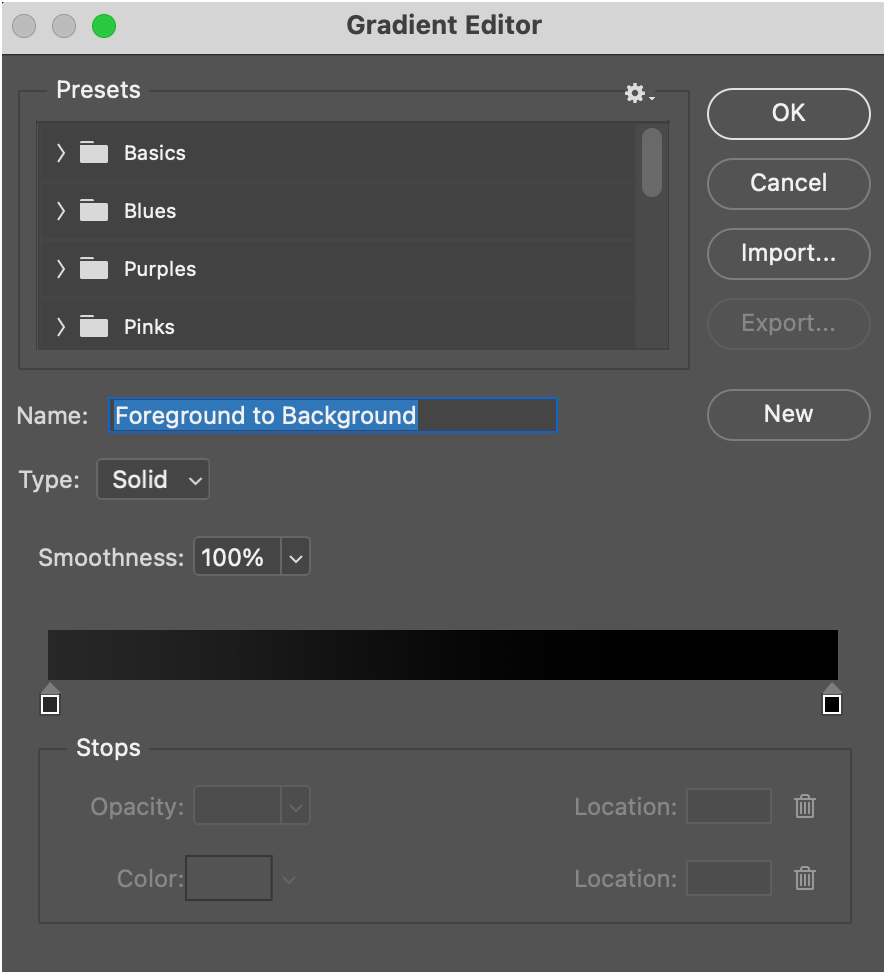
This will open the Gradient Editor, where you’ll make your adjustments:
2. Adjust The Effect
Most of the effect relies on adjusting the bar in the Gradient Editor to your liking. This process will walk through examples, but adjust your image as desired.
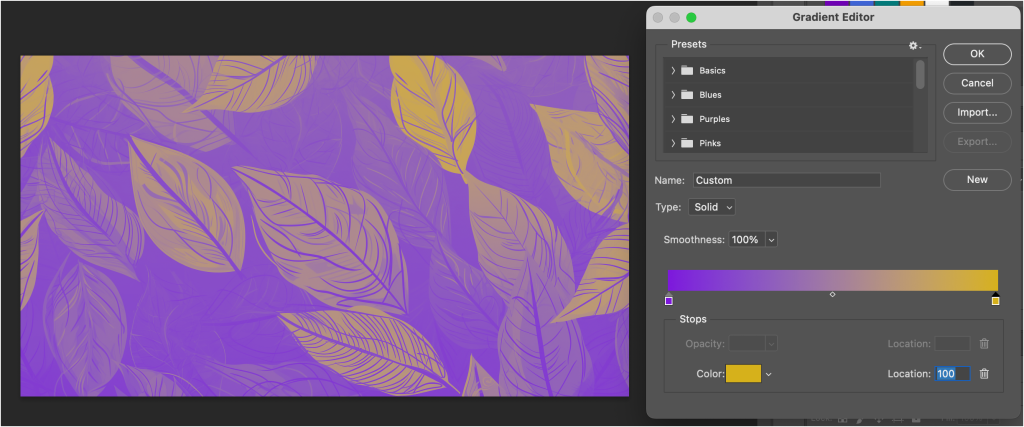
Double-click on the left square below the bar.

Select a color. You should see the changes happen to your image.
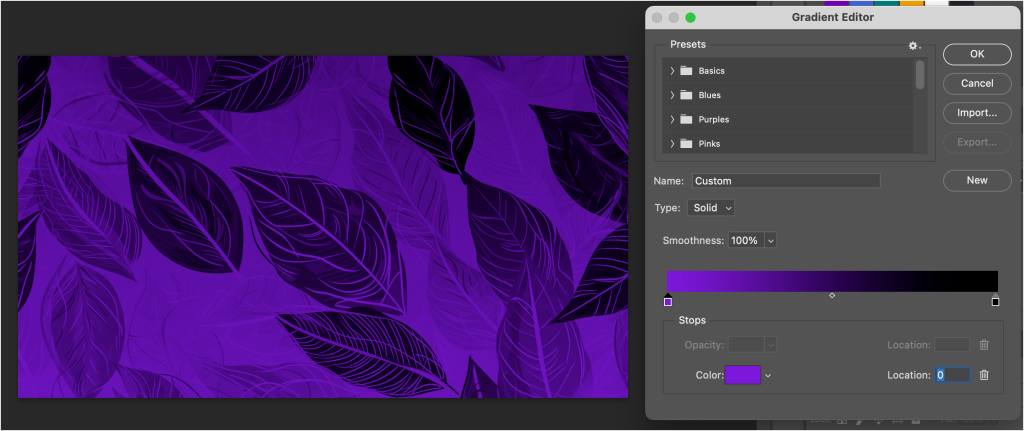
A standard effect might use a color on one end and black on the other, as shown. However, you can add color to the other side and change the effect:
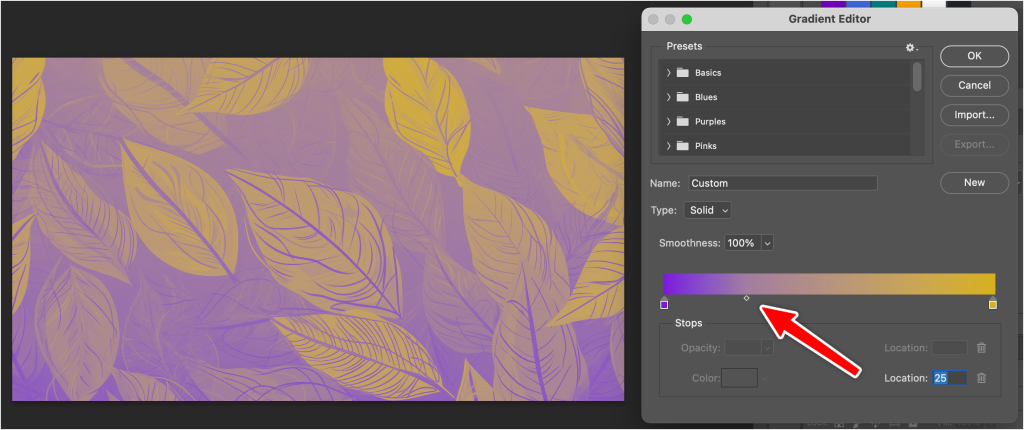
Use the small dot in the center to adjust the gradient and where the colors mix. This can also be adjusted by the Location box at the bottom right.
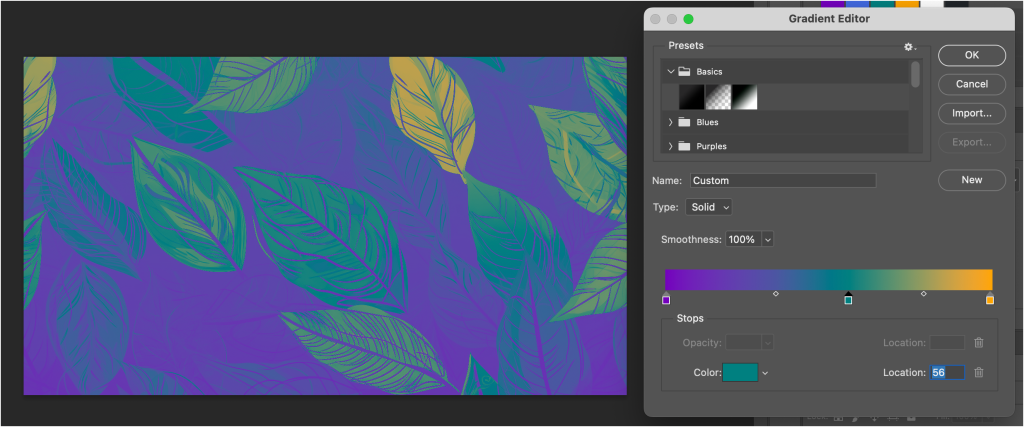
Click under the bar (cursor should turn into a hand) to add a new gradient point.

Adjust the effect further using what colors you’d like, mixing them using the smaller dots.
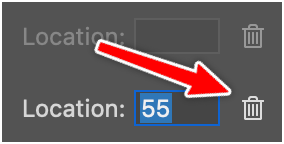
Note: If you ever add a gradient point you don’t want, you can select it, then delete it by clicking the trashcan next to the Location field for the point.
Result
Your image should now have a duotone effect applied to it:

Method 2: Duotone Mode
This is another popular method, but it changes the image mode, a large adjustment if you want to keep working on the file. Still, it’s quick and effective.
1. Open your image in Photoshop
First you’ll need to open the image you want to edit. Here’s one method:
- Launch Photoshop.
- Go to File > Open.
- Select the image you want.
2. Convert the image to Grayscale
It’s best to start with a grayscale image to apply the duotone effect.
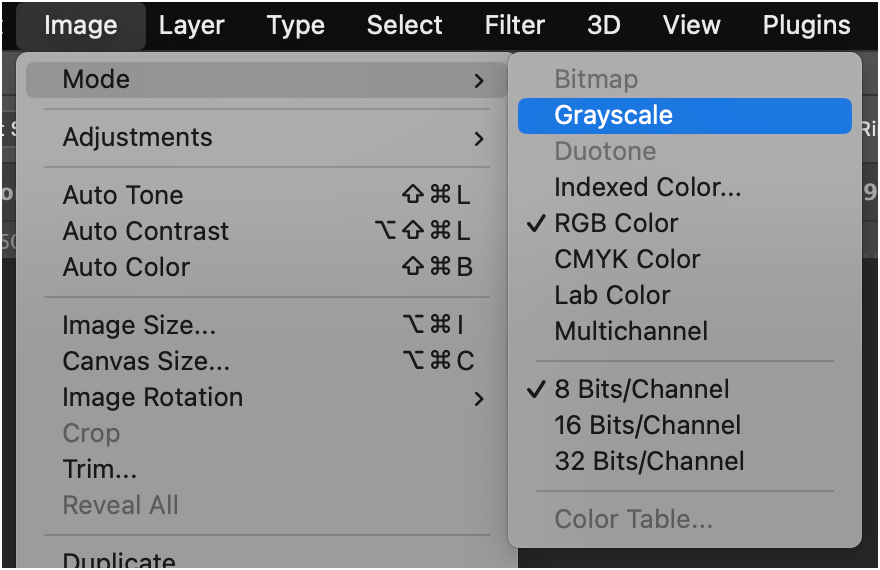
Go to Image > Mode > Grayscale.
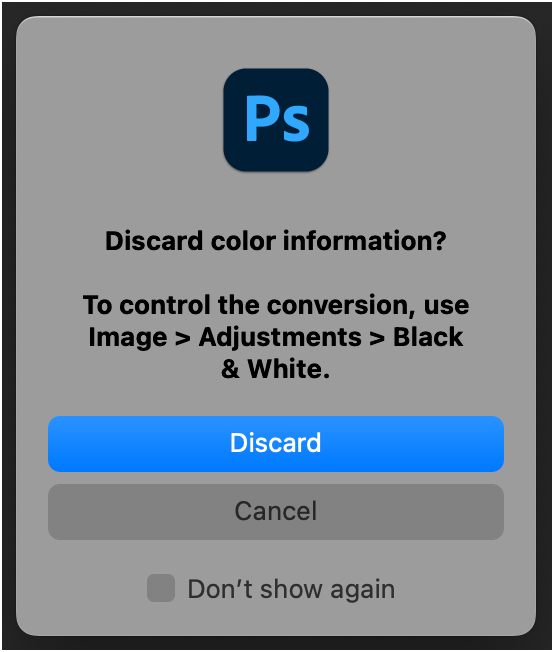
Click Discard if you see this message:
3. Convert the image to Duotone
Now it’s time to apply the duotone effect by adjusting the mode again.
Go to Image > Mode > Duotone.
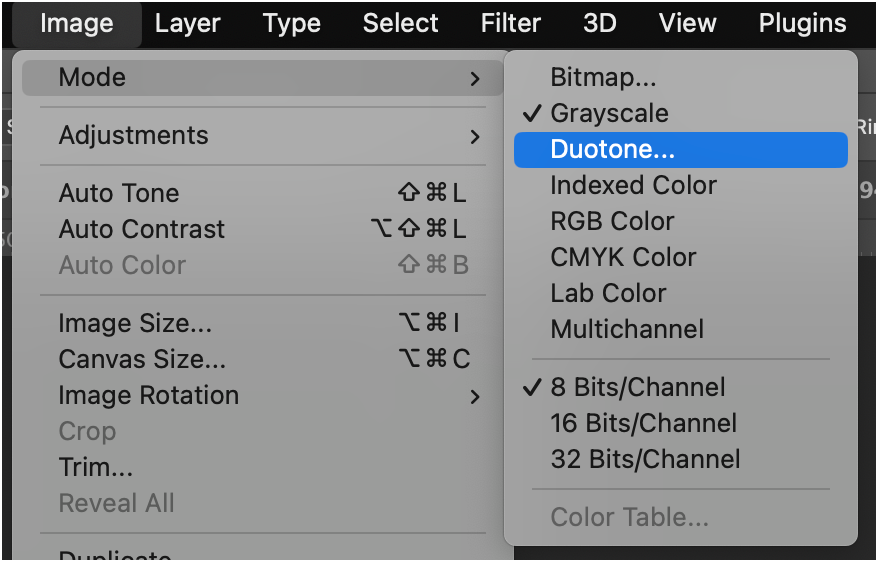
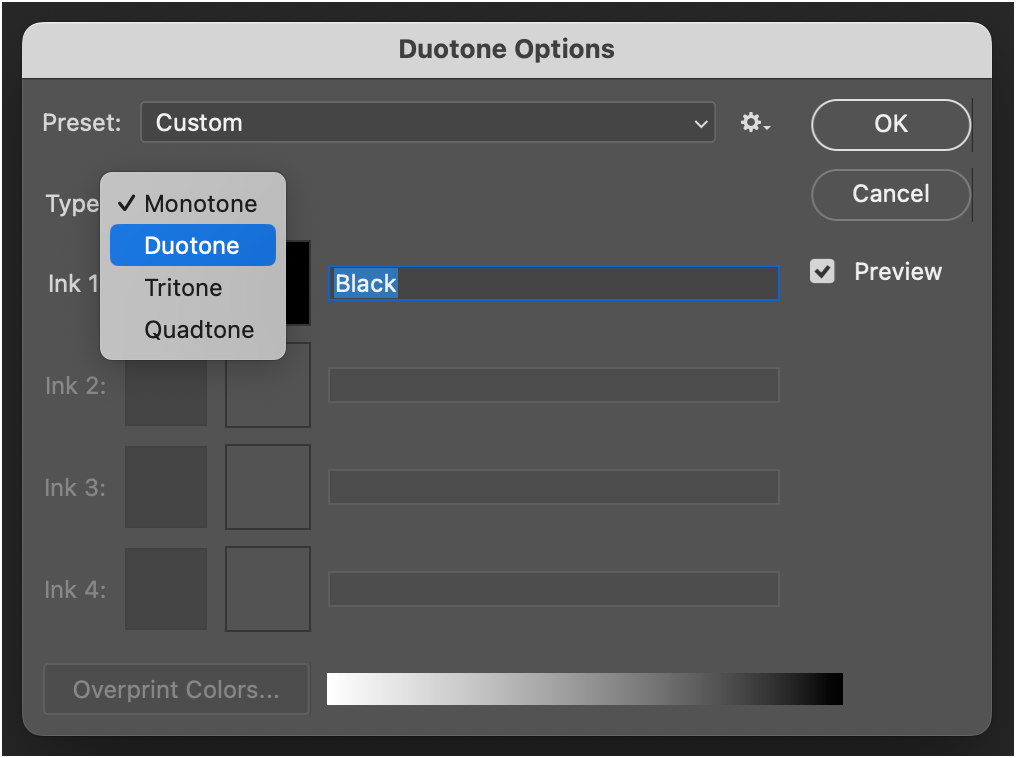
In the Duotone Options dialog box, you’ll see a dropdown menu with the default option set to “Monotone”. Click that and select Duotone.
4. Choose your colors
This process will vary depending on your needs. We’ll stick with a standard duotone effect for this tutorial.
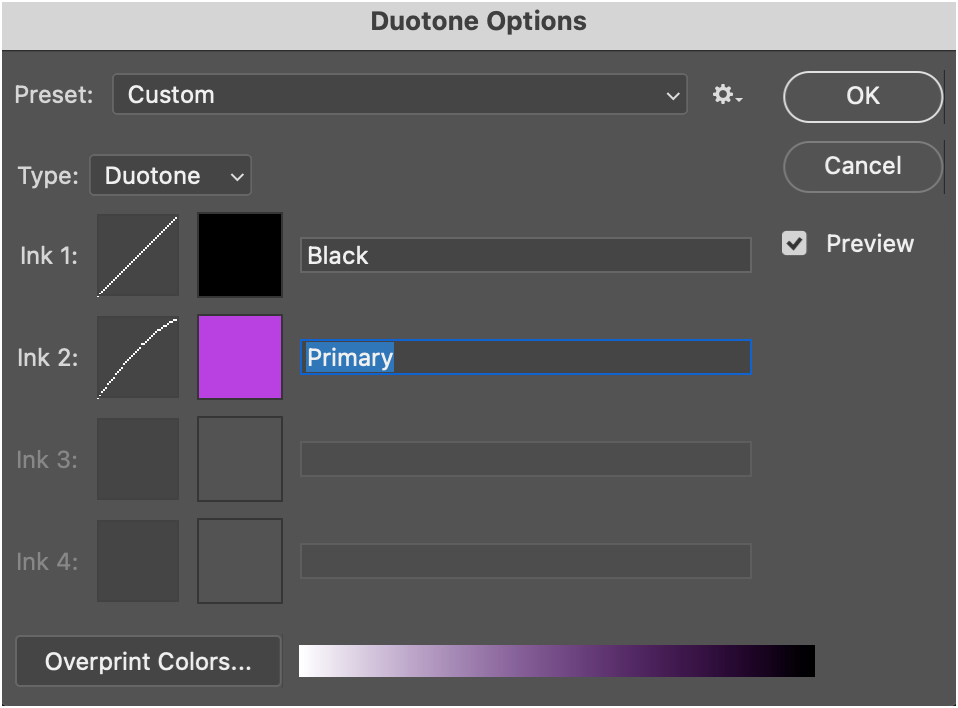
In the Duotone Options window, you’ll see two boxes on the left labeled “Ink 1” and “Ink 2”. By default, “Ink 1” will be set to black, and “Ink 2” will be another color.
Click on the second box, the one for “Ink 2”.
Choose your desired color in the Color Picker. We chose purple!
Be sure to name your color. It won’t allow you to proceed if you don’t.
5. Adjust the curves (optional)
If you’d like to adjust the effect to see what you can get out of the image, you can:
Click on the curve icon next to each color box.
This will open the Duotone Curve dialog, where you can modify the curve to control the color distribution.
Play with the settings to see how they affect the image.
Click OK when you’re satisfied with the adjustments.
6. Preview your changes
If you have the Preview box checked in the Duotone Options dialog, you should see how your image looks with the duotone effect applied.
Click OK to apply the duotone effect.
Result
The process should create a duotone image like this one:

Further Resources
Check out these other sources for reference:
- Adobe’s official tutorial on duotone: See another process, complete with a quick video overview and full steps.
- 5 Ways to Create the Duotone Effect in Photoshop: Popular YouTube video with multiple approaches.
Bottom Line
There are many approaches to creating duotone images in Photoshop. We recommend using the Gradient Map, as it is less destructive and easier to adjust.