Your cart is currently empty!


Overview
WebP is a lightweight image file format that’s great for the web. The format allows high image quality with low file size, much better than traditional image formats like JPG and PNG.
This guide covers converting WebP images using Adobe Photoshop. The process is simple, but might not be what you’d expect. Learn how to convert your images to and from WebP below.
Process
You can convert images using the Save a Copy command in Photoshop. Follow these steps to complete the process.
Note: This tutorial uses macOS for reference, but the process should be similar on Windows and produce equal results.
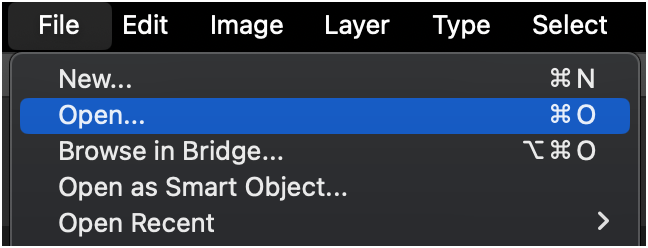
1. Prepare The Image
Open the image in Photoshop. You can do this by going to File > Open, or using Cmd + O to open your image.
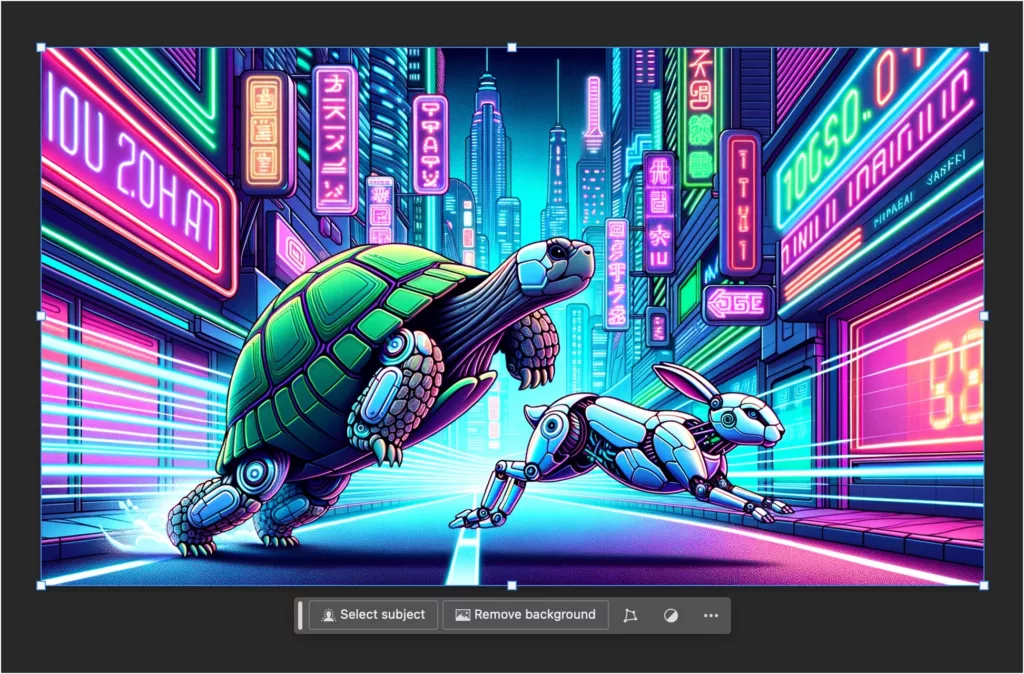
With this process, you can convert a WebP image to another format or change file types like JPG and PNG to WebP. Choose whichever image type you need to work with for this process.
Once your image is open, it should appear in Photoshop:
2. Save a Copy
Now that you have your image ready, all you have to do is save a copy of it using a couple of settings.
Go to File > Save a Copy or use the shortcut Opt + Cmd + S.
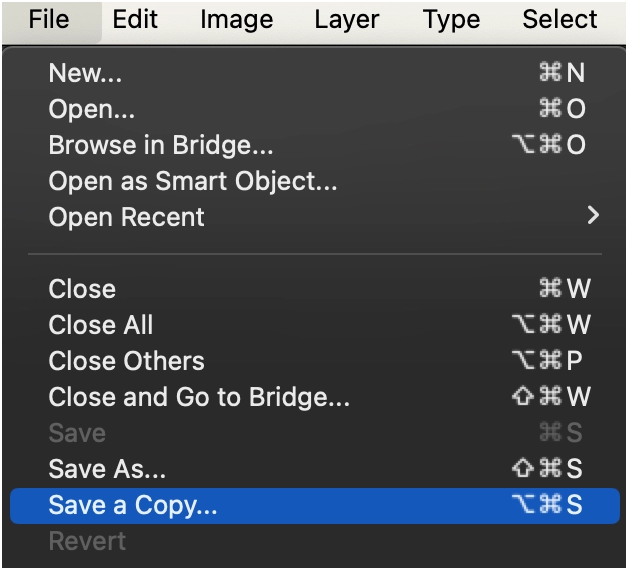
Once your file is open, name it and choose a location to save it.
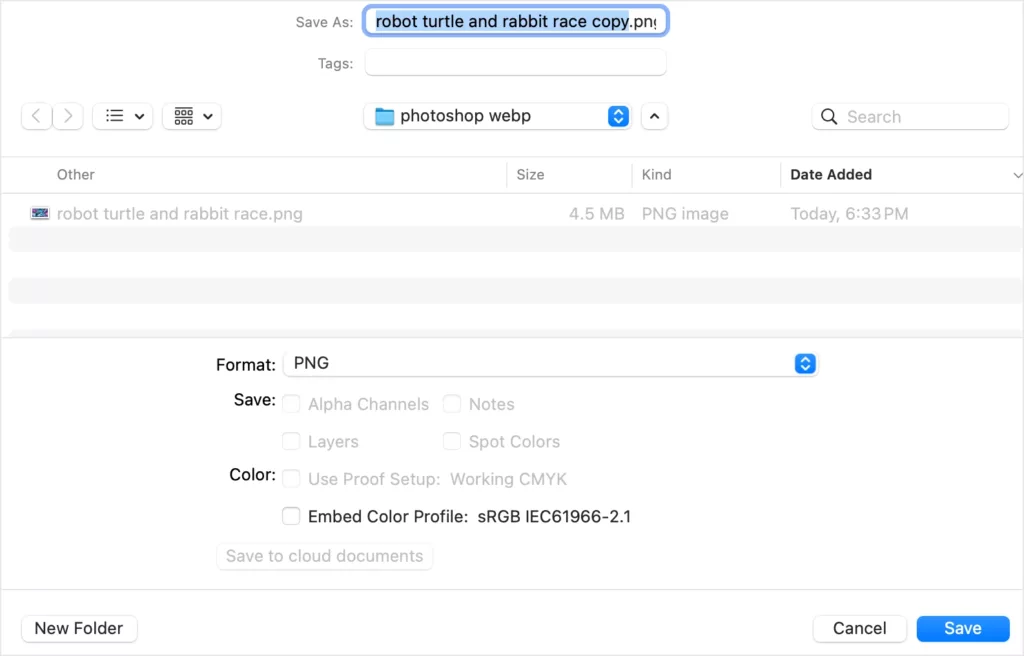
Note that Photoshop will automatically add “copy” to the end of the file name, so remove that and rename it if you prefer.
3. Choose a Format
Now that you’ve named the file, you must change the format.
Click the Format option at the bottom of the window.
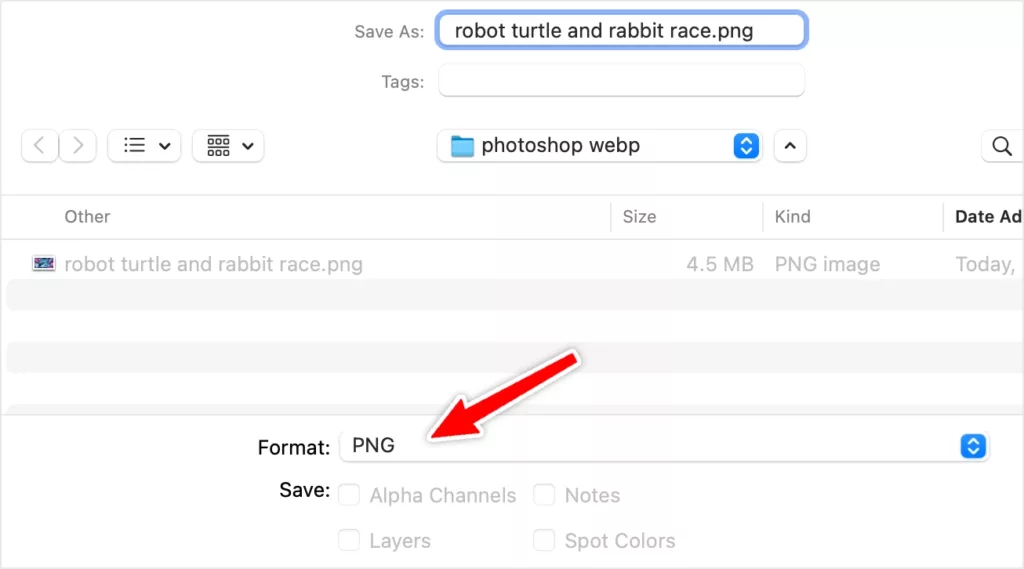
It should open a list of formats to choose from. For this tutorial, we’re converting a PNG to a WebP, so we’ll choose the WebP option near the bottom of the list.
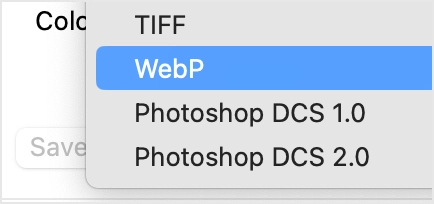
Once that’s set, click Save at the bottom right.

Now Photoshop will open one last window asking about compression options. This window will vary depending on what kind of file you’re exporting. For this tutorial, we’ll use the WebP Options for exports.
When exporting WebP files, you’ll typically want to choose Lossy compression with Quality set to 100:
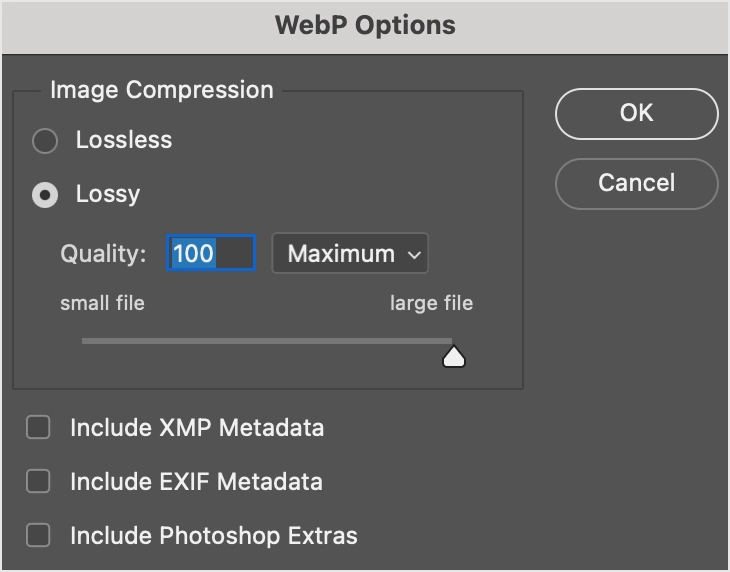
This is because WebP files tend to be small enough that you don’t need to worry about further compression. However, configure the options to your needs.
When ready, click OK to export the file.
Result
Once complete, you should have your original image, plus copy in the format you exported.
In our case, we have a PNG file and a WebP file:

The PNG file file went from 4.5 MB to 919 KB as a WebP file, an 80% reduction! This showcases the powerful compression at work.
PNG vs. WebP Image
Below are two images for comparison. The image on the left is the original PNG and the one on the right is the converted WebP file:


Spot the differences if you can, but they have highly similar image quality, and the WebP version is 80% lighter. The speed improvement is absolutely worth it, especially when scaled out across a website.
Converting Multiple Files
But what if you want to do a whole folder? It’s much trickier.
You have to create an action in Photoshop, and then save it using the Batch feature. It’s a complicated process that requires a bunch of fiddling, and we don’t recommend it.
There are other ways, like online tools that speed up the conversion process:
- Cloud Convert: Good for small batches. The tool can convert up to 10 images a day for free.
- Squoosh: Made by the Chrome Team. You can also install as a desktop app for easy access.
Hopefully, Adobe will simplify the process, add features, and provide better WebP support in future versions.
Bottom Line
You can convert files in Photoshop using the Save a Copy command. This allows you control over the export image quality and size.
Use this process to convert images for the web, resulting in a faster page speed, a better user experience, and improved SEO.