
Overview
This tutorial shows how to make a 3D gradient effect with paths and blending tools in Adobe Illustrator. It can be used for lettering and many other creative uses.
Process
Follow these steps to create the effect. To prepare, open Illustrator and create a new file.
1. Prep The Pencil Tool
Select the Pencil Tool (N).

Double-click the tool to open the Pencil Tool Options window.
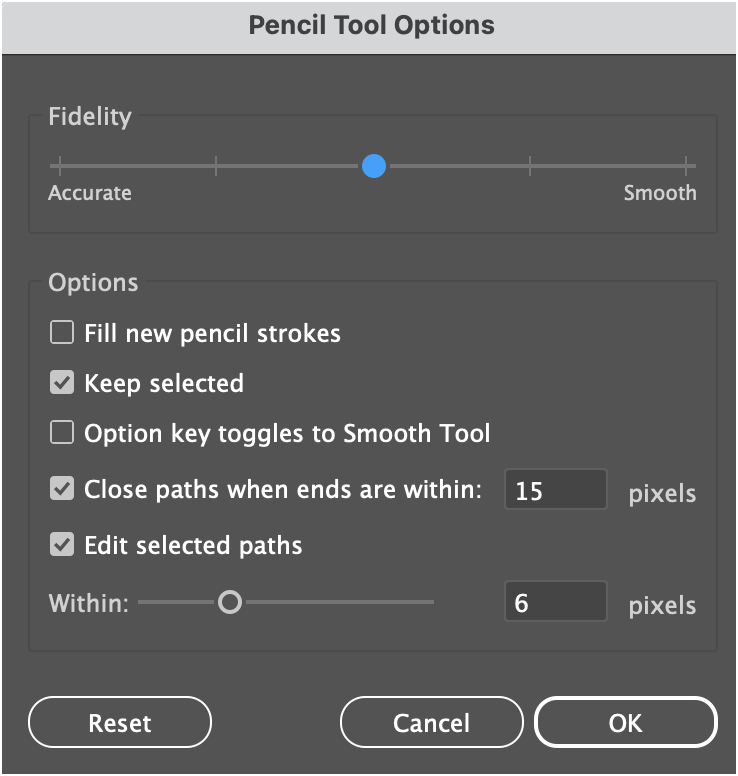
Set the Fidelity slider as fully Smooth.
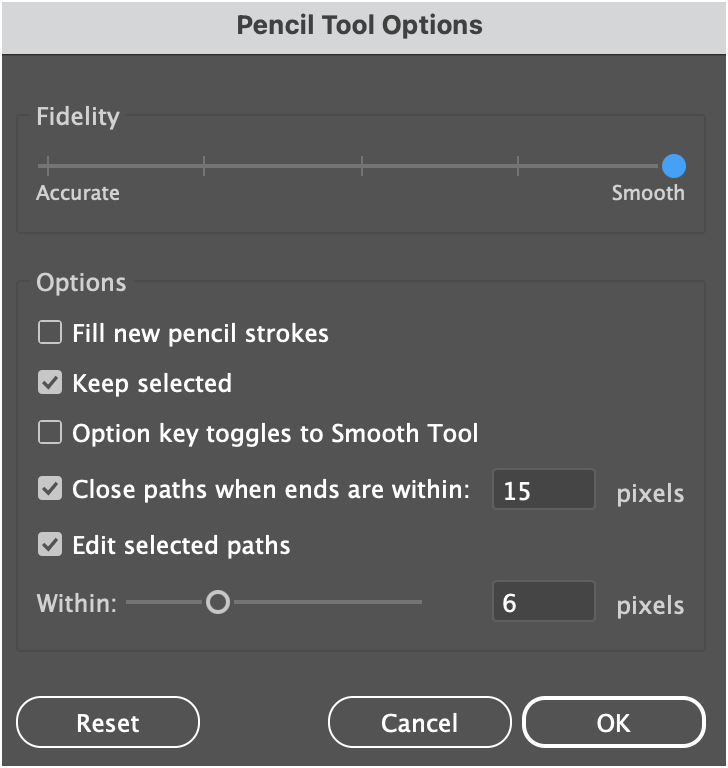
Click OK to proceed.
2. Draw a Path
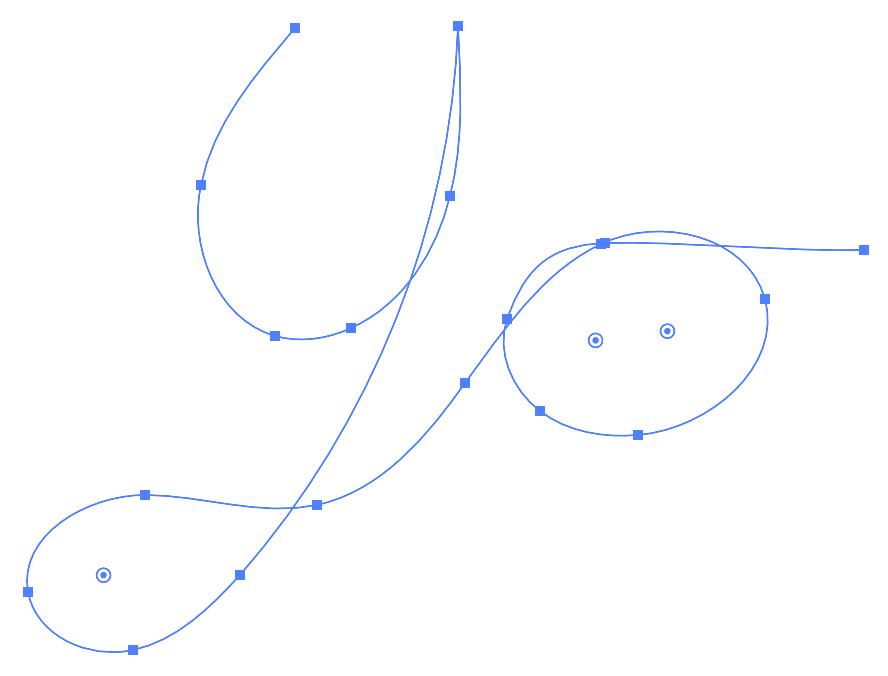
Draw a single path using the Pencil tool. This can be a word, letter, or whatever you choose. Ensure you have no Fill or Stroke colors set yet.
3. Create a Circle
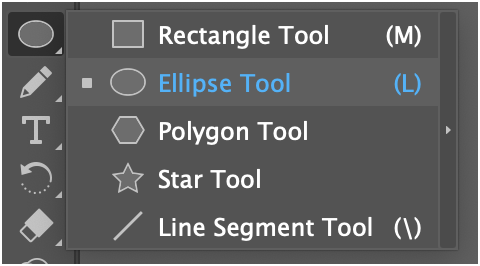
Select the Ellipse Tool by typing L or click-holding the Rectangle Tool, then selecting it from the Tools menu.
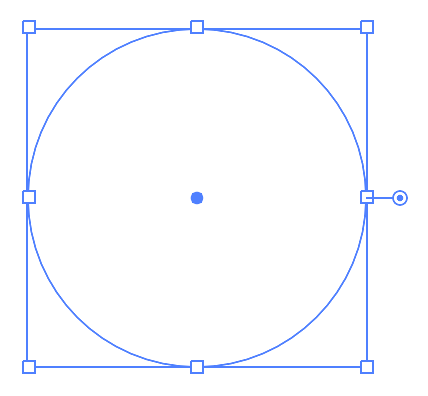
Next, click and drag your mouse while holding Shift to draw a circle.
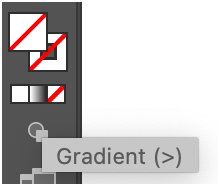
Click the Gradient icon (>) below the colors in the Tools panel.
Choose a gradient with a visible color shift, something eye-catching. Do this by clicking on the colors below the slider.
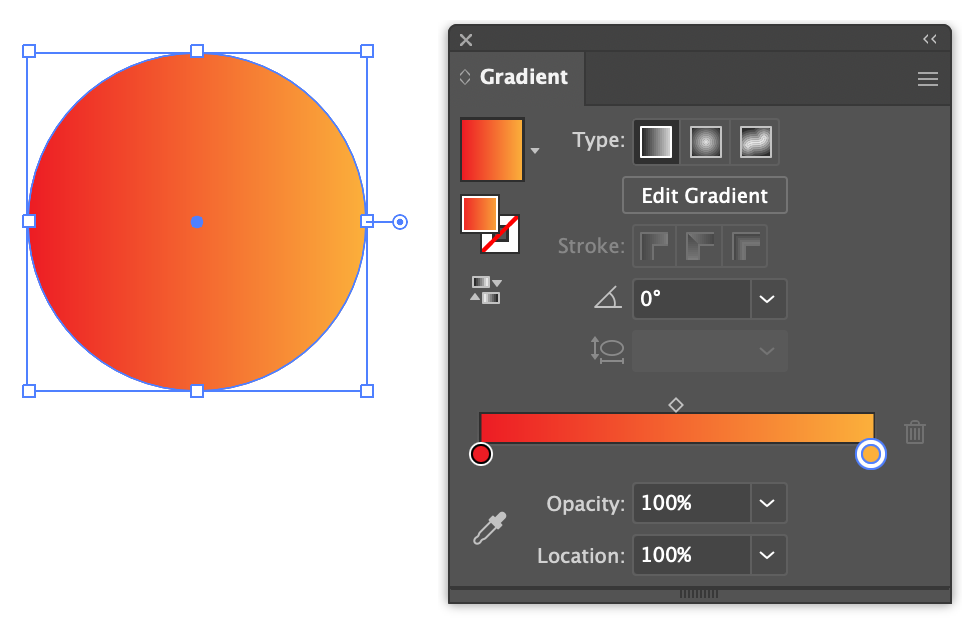
The circle should be filled with the gradient and have no outline.
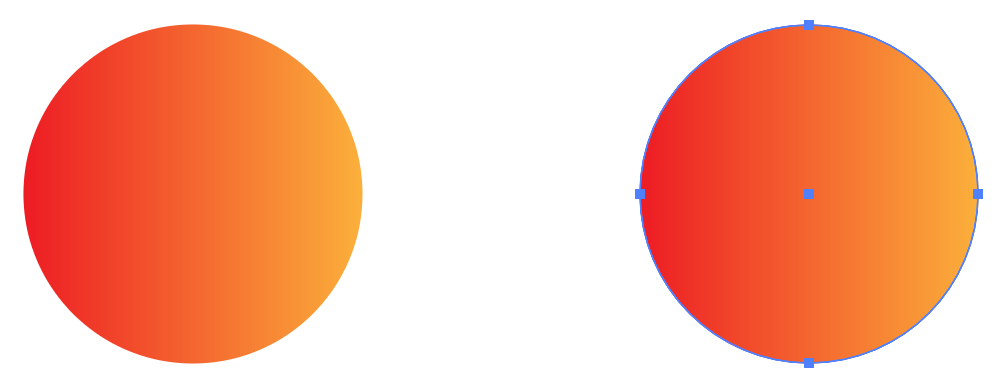
4. Duplicate The Circle
Select the circle using the Selection Tool (V), then hold down Option while dragging to create a duplicate to the right.
5. Blend the Circles
Double-click the Blend Tool (W) in the left pane.
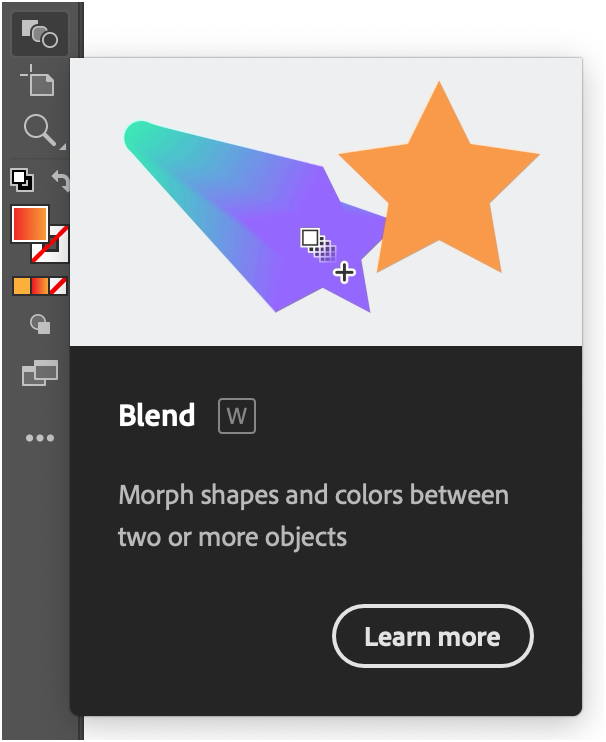
It should open a Blend Options window:
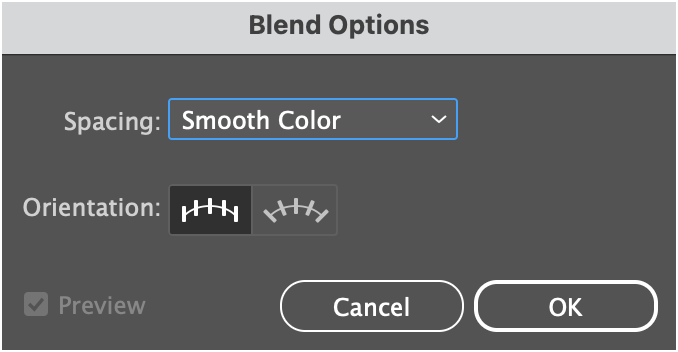
Click the Spacing dropdown and choose Specified Steps.
Set the number to 200 to ensure a smooth blend and click OK.
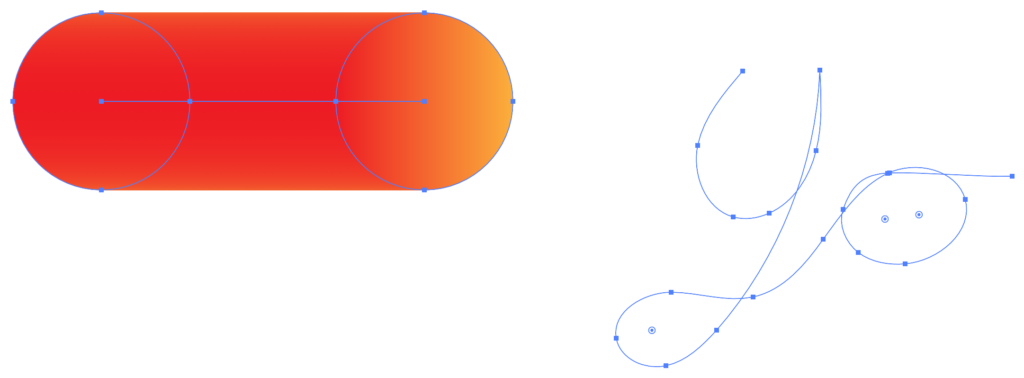
With the Blend Tool selected, click the first circle, then the second.
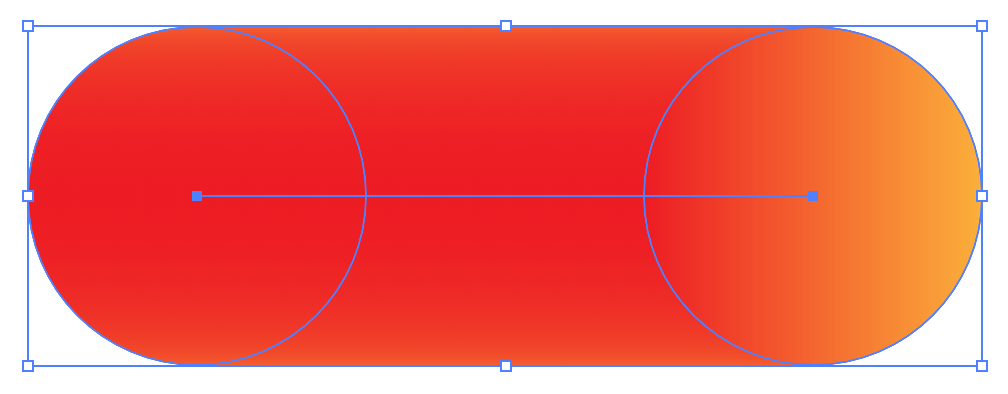
Illustrator should create a pill-shaped effect with the circles.
6. Replace Spine
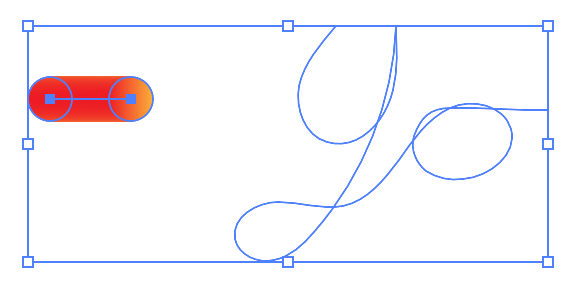
Select the blend and path you drew with the Selection tool.
Choose Object > Blend > Replace Spine.
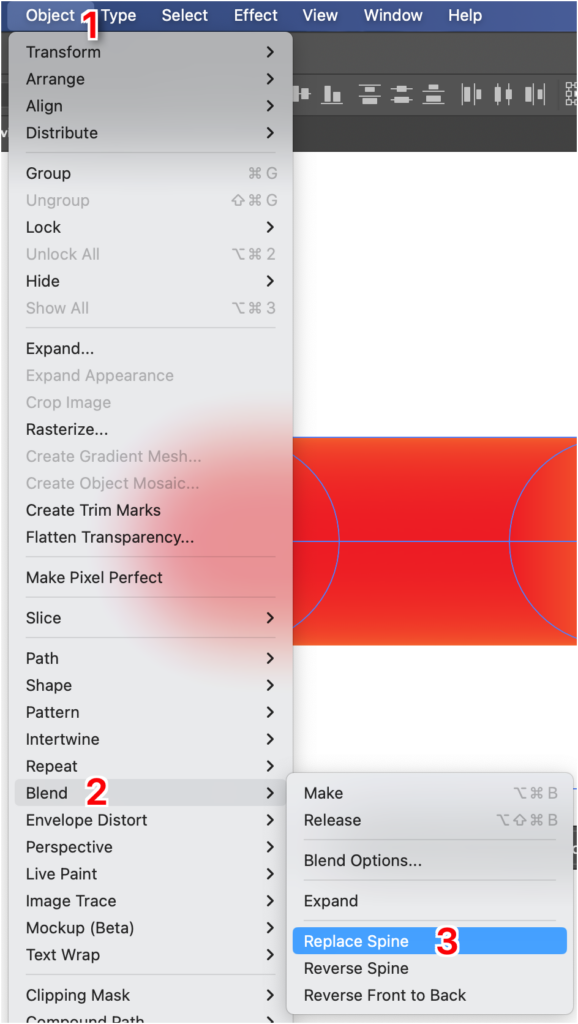
It should apply the effect to your path, combining the two elements.
This completes the process!
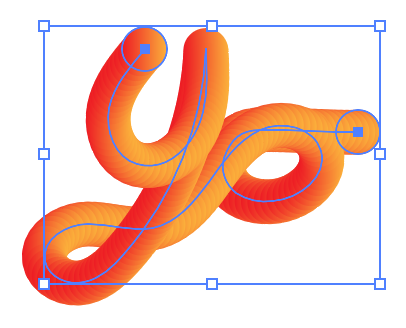
Result
Illustrator should have created a funky pattern across your path.

Common Issue
If your design doesn’t look right, you might need to adjust the size of the gradient blend object, as that has a large effect on the final result.
For example, if your object is large compared to the final path, it will look quite different.
When the object is large, it will create a puffy effect:
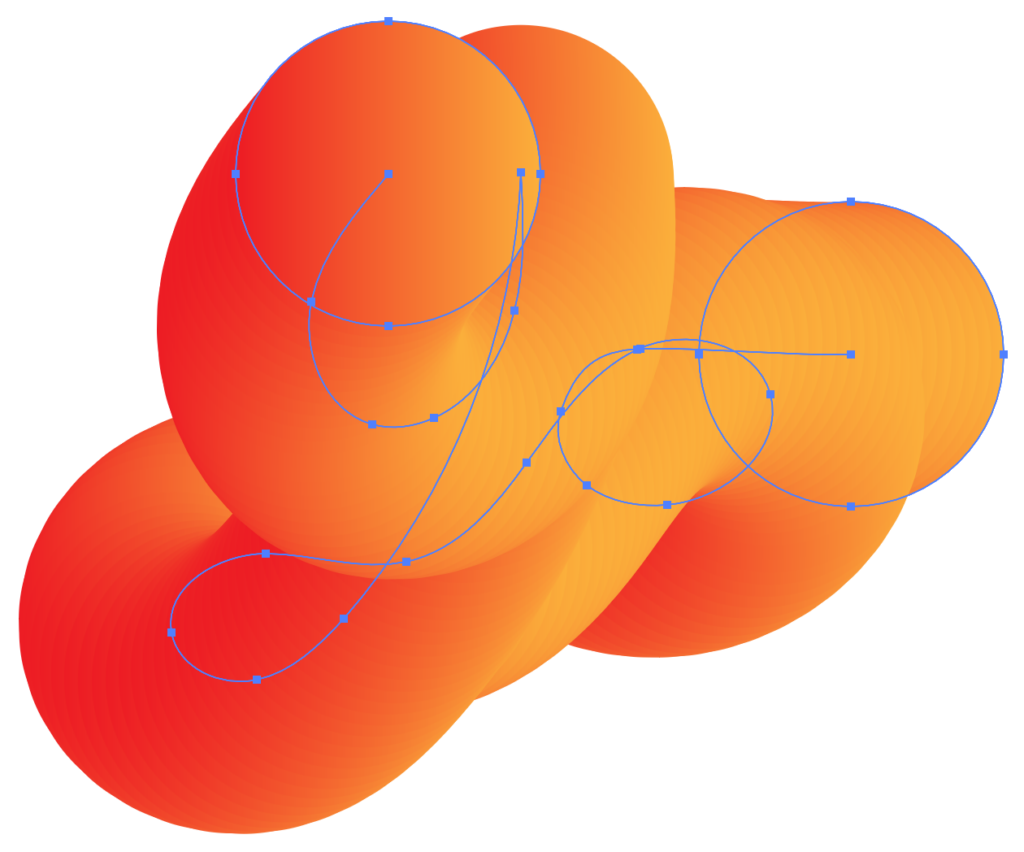
This can be great for some uses, but not in this case.
Further Resources
This tutorial is inspired by an old video tutorial Adobe published a few years ago. Check it out for further help and visuals.